Downloaded your story PDF and want to hold it on paper? There are three ways to get there: standard A4 printing, a stapled A5 booklet you make at home, or the premium option with professional printing. Here is each one, step by step.
What you need (home methods)
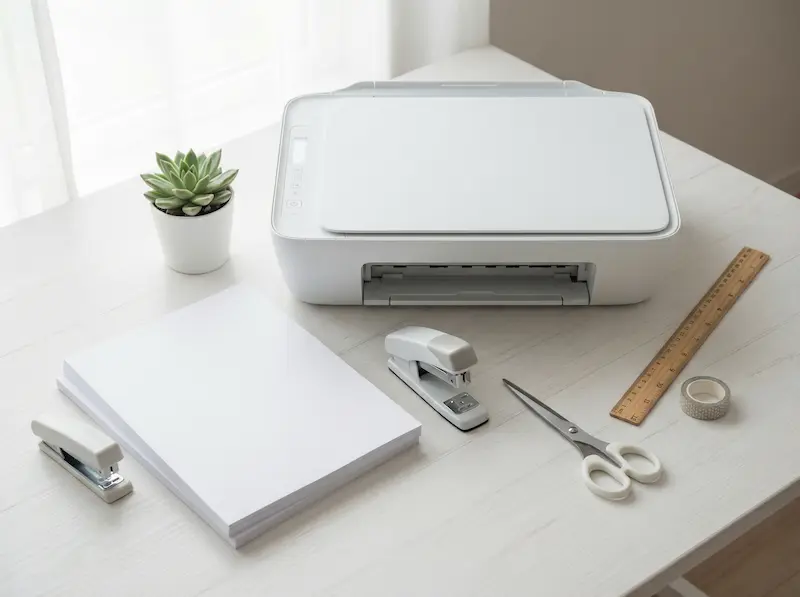
- A printer (colour looks much better)
- Regular A4 sheets
- A stapler (only for the A5 booklet method)
- Scissors or a craft knife (optional)
About the paper: both home methods use the same everyday sheets (standard A4 paper). You do not need to buy anything special: the difference between the two methods is not the paper, it is how you print. In booklet mode, each sheet is folded in half, so the finished booklet ends up half the size (that is what "A5" means).
Method 1: Standard A4 printing (the easiest)
The PDF you download from cuentosIA already comes in A4 landscape format: each sheet shows two pages of the story in reading order (cover and dedication, then pages 1 and 2, pages 3 and 4, and so on). You do not need to set "2 pages per sheet" or cut anything.
On Windows
- Open the PDF with your usual viewer
- Go to Print (Ctrl+P)
- Paper: A4, landscape orientation
- Scale: 100% or "Actual size" (not "Fit to page")
- Optional: enable double-sided printing
- Print all pages
On Mac
- Open the PDF with Preview
- File > Print (Cmd+P)
- Paper size: A4
- Scale: 100%
- Optional: double-sided printing
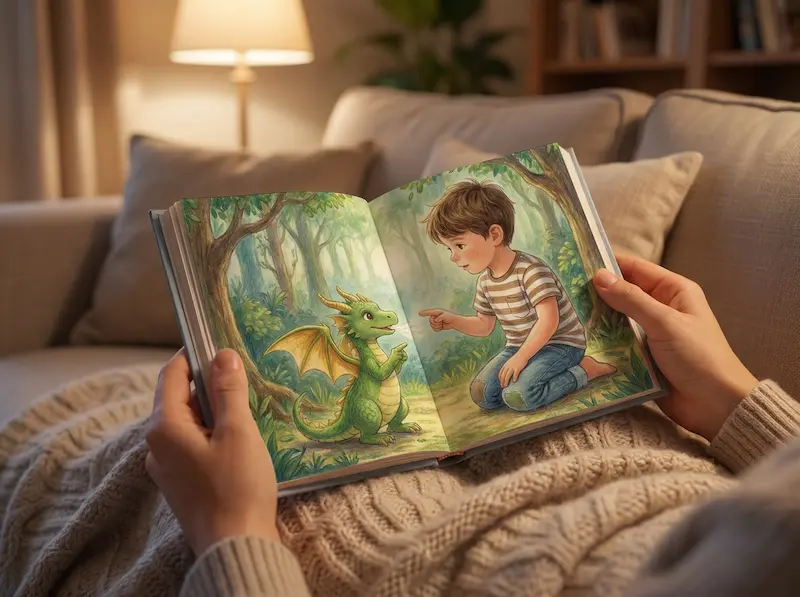
You can bind the sheets with a folder, clips or rings, or simply read them as they are. It is the quickest option and works with any printer.
Method 2: Stapled A5 booklet
If you want a compact, magazine-style booklet with front and back covers included, we can generate a special PDF with booklet imposition: the pages come already rearranged so that when you print double-sided, fold in half and staple, the story reads in order.
Download it from your profile: in your library, click "Download PDF" and choose "A5 stapled booklet".
What you will see when printing (and why it is normal)
Unlike the standard A4 PDF, which comes out in reading order, the booklet sheets come out "shuffled" on purpose. Do not panic:
- The first sheet carries the back cover and the front cover together on the same side, and its reverse comes out completely blank: those are the inside covers, just like a real book. (Tip: you can print that sheet on card stock.)
- The remaining sheets come out with the pages seemingly out of order, and a blank page may appear here and there. It is not a printer error: it is booklet imposition, which rearranges pages so everything lines up when folded.
- Do not reorder or remove any sheet. Keep the stack exactly in the order it comes out of the printer.
- Fold the whole stack in half with the front cover facing out and staple along the fold: every page will land exactly where it should.
How to print the booklet correctly
The booklet PDF is made of A4 landscape sheets holding two A5 pages each, already reordered. The key is the double-sided setting:
- Open the booklet PDF
- Enable double-sided (duplex) printing
- Select flip on the short edge. If you use the long edge, the back sides will come out upside down
- Scale: 100% (actual size)
- Print all sheets and stack them in order
- Fold the stack in half (central vertical fold)
- Staple along the spine (the central fold), with 2 or 3 staples
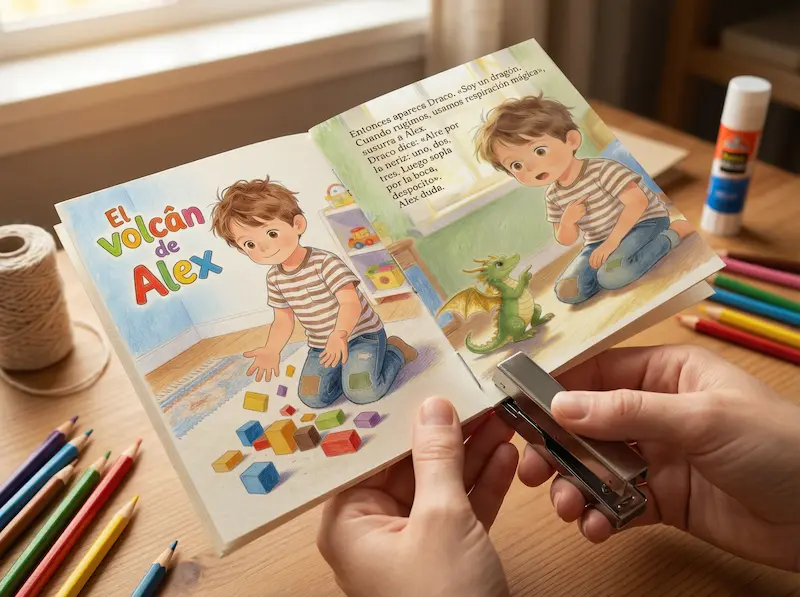
Tip: If your stapler cannot reach the centre, open it fully and staple against a cork or cardboard surface. Then fold the staple legs down by hand or with a ruler.
Method 3: Professional printing (premium)
If you prefer a print-shop finish with a hardcover, quality binding and home delivery, you can order your printed story directly from cuentosIA. It is the premium option, at an additional cost, and perfect as a gift.
Discover the printed physical book and we will ship it to your door.
Tips for a better result
If you have card stock or heavier paper, use it for the first sheet in the standard A4 method, or for the outer sheet in the booklet method.
If you print in colour, wait a few minutes before handling the sheets to avoid smudges.
Do a test run with 2-4 pages before printing the whole story. That way you verify the orientation, the scale and (for the booklet) the duplex flip.
Which method should you choose?
- Standard A4: quick, easy, and works with any printer.
- A5 booklet: compact stapled booklet, ideal if you like the zine format.
- Premium: professional hardcover finish, perfect for a special gift.
Learn about the story of cuentosia.ai and how the idea of creating personalised stories with artificial intelligence was born.